The crawl space is uncharted territory for most as people usually just avoid the dingy, low-ceilinged area, considering it to be a lost cause.
But with a little elbow grease and planning, you can turn even the most horrid-looking crawl space into an organized storage section. Plus, the improvements you’d undertake in the process would also contribute to energy efficiency and overall home comfort.
Once the area is made storage-ready, you can keep your off-season items safely and use them for several other less-used things that you’ll still need around the house. So, if you’re looking for a helpful guide before starting the project, take a look at the instructions below.
How To Transform Your Crawl Space Into A Storage Area
Initial Assessment
For most homeowners wanting to utilize the crawl space, moisture is the biggest roadblock. Your crawl space may not have a moisture problem, but you should assess the situation regardless.
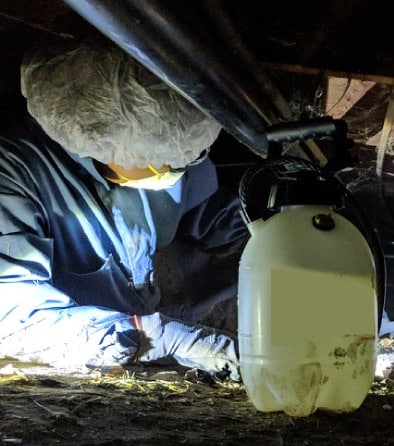
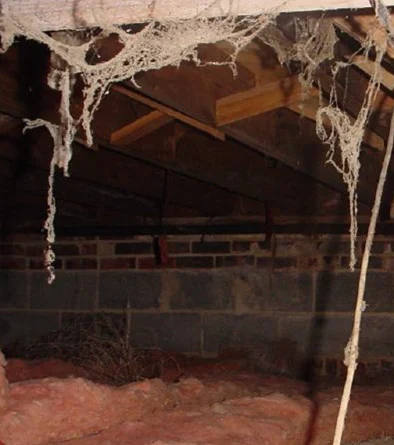
Start by looking for mold on the walls, ductwork, joists, and insulation. Any place with mold growth may also have insects, including termites. Furthermore, the presence of mold also indicates moisture levels that could eventually affect the drywall, flooring, and insulation in the upper area of your home.
Therefore, a thorough assessment is the first order of business, and you may consult a contractor for an expert opinion.

Moisture Control
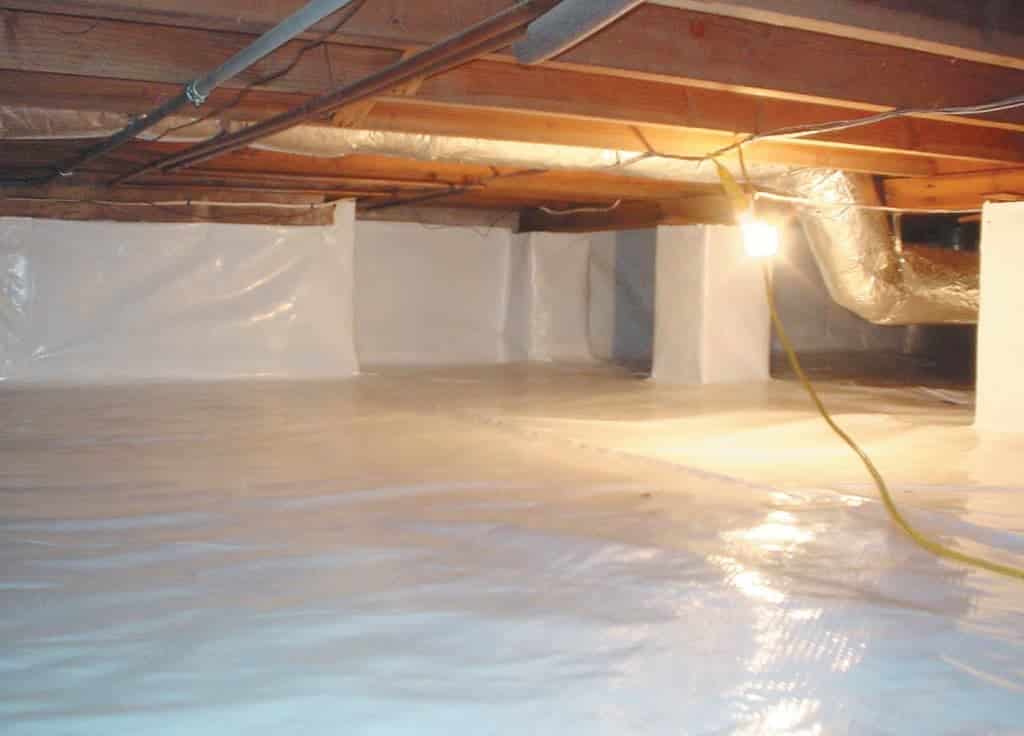
When it comes to crawl spaces, moisture begins to develop from the soil floor. Line the floor (and foundation walls) with a plastic vapor barrier to contain the moisture and humidity.
You’ll find several types of vapor barriers on the market, with varying thickness, composition, and durability. Since you’ll be using the crawl space for storage, buy something thick and durable enough to withstand foot traffic.
Of course, poured concrete is a more reliable option than vapor barriers as a defense against crawl space moisture. But the latter is far more convenient, especially if you’re winging it DIY style.
Crawl Space Insulation
Insulation is vital to further protect the area against moisture as it controls the temperature in the crawl space. Also, in case a pipe runs through the crawl space, insulation will keep it from freezing during peak winters.
You can find different types of insulation available, but the rigid board variety is the only suitable option for this project, as it resists water damage. However, install rigid boards against the foundation walls, and not along the ceiling. You can either use mechanical fasteners or construction adhesive for the purpose. Once the insulation is complete, the vapor barrier should go up on the walls.

Crawl Space Ventilation
There is a lot of debate around crawl space ventilation where both supporters and naysayers have their own logical arguments. Building codes require crawl spaces to be vented, and it is a necessity in coastal areas as vents prevent water pressure build-up from damaging the foundation in case of a flood.
However, several experts believe that crawl space vents fail to do their one job – eliminate moisture. They argue that vents instead invite moisture, particularly during the summers.
Given the opposing opinions and the role of climatic conditions, we recommend seeking advice from a local contractor to decide the appropriate course of action.
Conditioning
If you decide to seal up the vents in your crawl space, the only way to let the moisture escape is by means of a dehumidifier. Dehumidifiers come in varying sizes and capacities, but ideally, you should get a model specially designed for this purpose, which can be plumbed into the home’s drainage system.
Proper Storage
Even if you’ve successfully taken care of moisture and related issues, we strongly recommend storing your belongings in airtight plastic contraptions. You may also consider shelving, depending on the height of the crawl space.
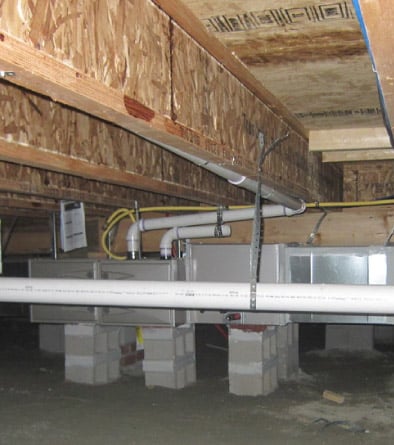
Regardless of the storage technique you opt for, be sure to leave enough space near the plumbing and ductwork for convenient access in case of repairs.

Some Helpful Tips
Repurposing the crawl space may take up a lot of time depending on the total square footage, but these tips will come in handy to streamline the project.
- Eliminate standing water
Before accessing the crawl space, make sure that there’s no standing water. Consult with an expert and arrange for getting it removed as standing water is a safety hazard that can lead to possible electrocution.
- Provide adequate lighting
Crawl spaces are dark and dingy, so ensure sufficient lighting as you don’t want to miss out spots that can later compromise the effectiveness of the moisture control system.
- Prepare the floor
Crawl spaces usually have a lot of dirt on the floor, so it’s essential to get rid of all the grime and debris that could potentially damage the vapor barriers. If the floor is uneven, flatten the soil using a rake. You may need to add more soil or stone to achieve a consistent level for proper drainage.
- Check the plumbing
The last thing you’d want is to cover up a water pipe that is about to leak. Thus, in such situations, it’s best to be preemptive. Get in touch with a professional if you are unsure about the working condition of a pipe.
- Examine all wood, posts, framing, and beams
Look out for wood rot, mold, or other surface damage. Installing a vapor barrier over a damaged surface is just a temporary fix as the problems will recur after a while.
- Assess the area for musty odors
Musty smells could be a result of several things, including dead rodents or mold. Even though encapsulating the crawl space will eliminate the unwanted smells, removing the source is advisable.
- Identify open spaces that need to be sealed
The two key factors that influence the performance of a renovated crawl space are air sealing and insulation. The areas you’d want to seal in compliance with local building codes include sill plates, rim joists, vents, and any penetrations in the framing and exterior wall.
- Assess and secure electrical wiring
Reinforce any loosely hanging ductwork for improved accessibility. This enables you to move around easily during installation and provides better visibility. Furthermore, you’ll have greater access to awkward places in the crawl space that are otherwise hard to reach.

Final Words
Crawl space storage is ideal for those items that you use occasionally yet can’t do away with. But if you haven’t taken a peek under there for ages, chances are that it’s pretty much a horror show down there. However, the situation can be salvaged if you put in the right effort and carefully follow each step.
While it sure sounds like a DIY weekend project, you may need professional help if you encounter bigger problems in the plumbing or a terrifying mold situation.
That said, we hope our guide could give you all the necessary insights needed for this home improvement task. Make sure to check all the boxes, and soon you’ll have extra space for your seldom-used belongings.
Let us know in the comments section if you have some more tips to share.
Till next time!
Related Articles
5 Best Crawl Space Dehumidifiers | Reviews + Guide


