There are few things tougher than removing texture off walls, like removing a tattoo or peeling off a waxing strip. But, just like waxing, if you need your walls to be smooth, this is a necessary endeavor. Texture, once applied, is a near-permanent obstacle to your minimalist ambitions and renovating with it still intact means you can’t commit to the redesign.
The Precautions
Before you get onto the task of removal, protect everything else in its vicinity, either by covering it up or moving it away, including the floor because there will be a lot of residue from the scraping to clean off the floors.
This protection also includes your eyes, so a pair of safety goggles is most recommended. Wrap a napkin around your face and wear gloves and get onto the taxing task with your tools: a filled water spray bottle, a joint compound, lots of sandpaper and a knife, the wallboard one, not the one you find in your kitchen.
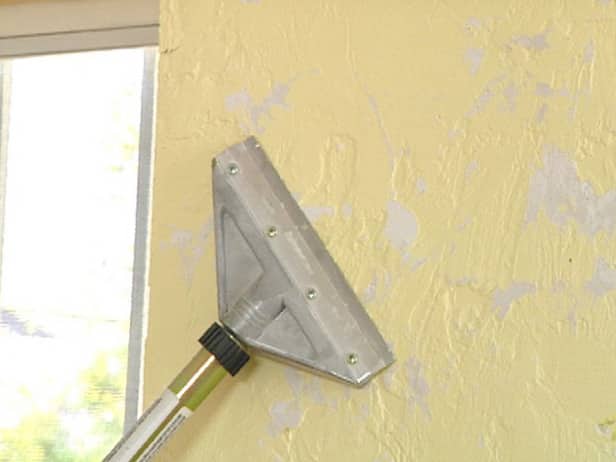
And oh yes, the most important item of them all: the floor scraper.
The Process
Little efforts lead to significant changes, and in this context testing on a small area first will help you gauge how much pressure you need to exert and at what angle for the scraper to efficiently remove the texture. Once your calculations are en pointe, venture into it unabated.

The way to do this is simple: spray once and let the wall soak the water before you start scraping at the angle that works. Once you’ve scraped away the texture, smoothen the surface with sandpaper.
Fast forward to many rigorous minutes of scraping and aching biceps, and you will have leached the texture off the entire wall. Take a break, catch some breath, and gulp down a glass of tang before you advance to the next task. And oh, do clean the wall with a soaking wet cloth so that no rogue elements are clinging on to the surface as a last ditch effort for your sore eyes.

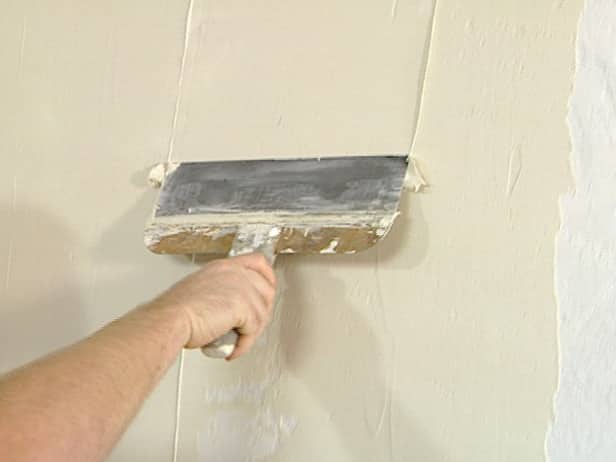
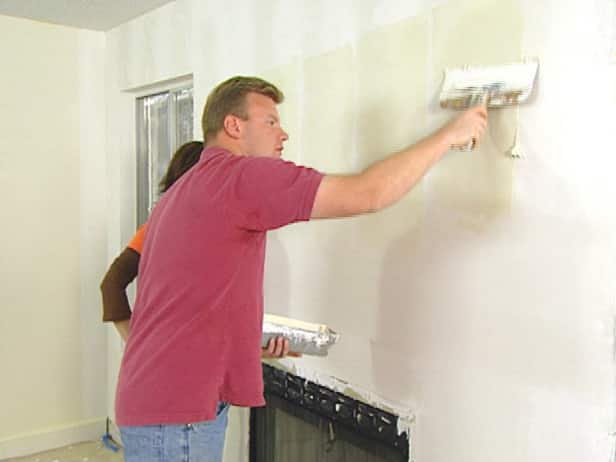
Once its tidy, oil the wall with a primer and let it dry. The more wind, the better. After it has dried, take the wallboard knife and apply a thick layer of the compound, evenly spreading it by feathering the edges.
Heavy work. I know. Good news! You can take a day off! And no, it isn’t a consolation, rather a compulsion. It takes 24 hours for the coat to dry, no less even if you try. But, of course, you wouldn’t.
The Day After
Return the next day after your reprieve and sand away any remaining uneven patches and apply the compound once again. Another break for 24 hours and back to the same procedure, the last time of the loop. Use a vacuum to remove the dust and take one final 24-hour break before you apply the primer and start painting your wall the way you like it.
Quite the challenge? But the rewards after that are more than satisfactory and for little than half the cost of getting it done by a professional.

After that, apply an oil-based primer all over the wall. Let it dry completely and ventilate the area properly. Once that’s done as well, it’s time to apply the compound. Use a wallboard knife and apply a generous layer, feather the edges and maintain an even look throughout. Let the first coat dry for 24 hours.

Once again, sand down the uneven areas to get a smooth look. Then apply a second layer of joint compound the same way as you did the first time. Let it dry, sand again and vacuum the dust.
Images via diynetwork

