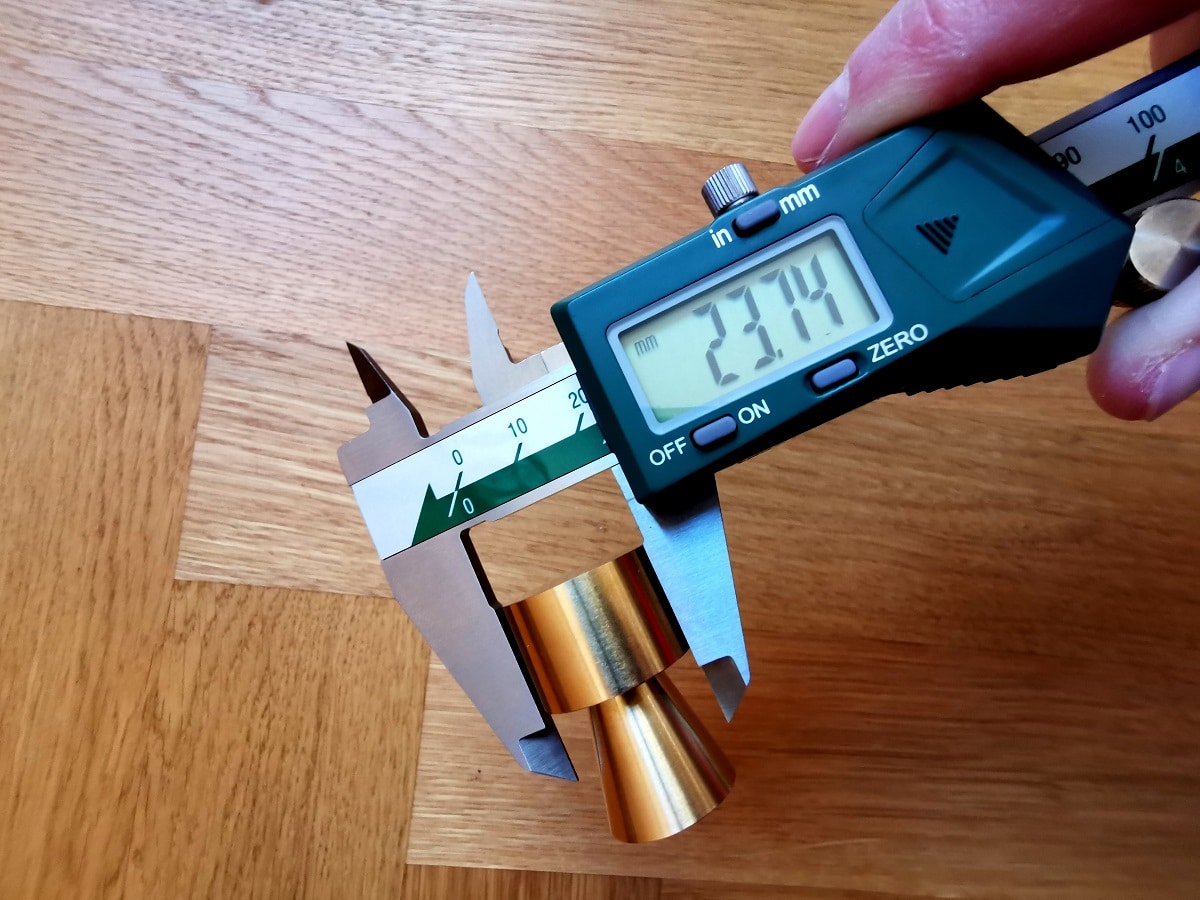
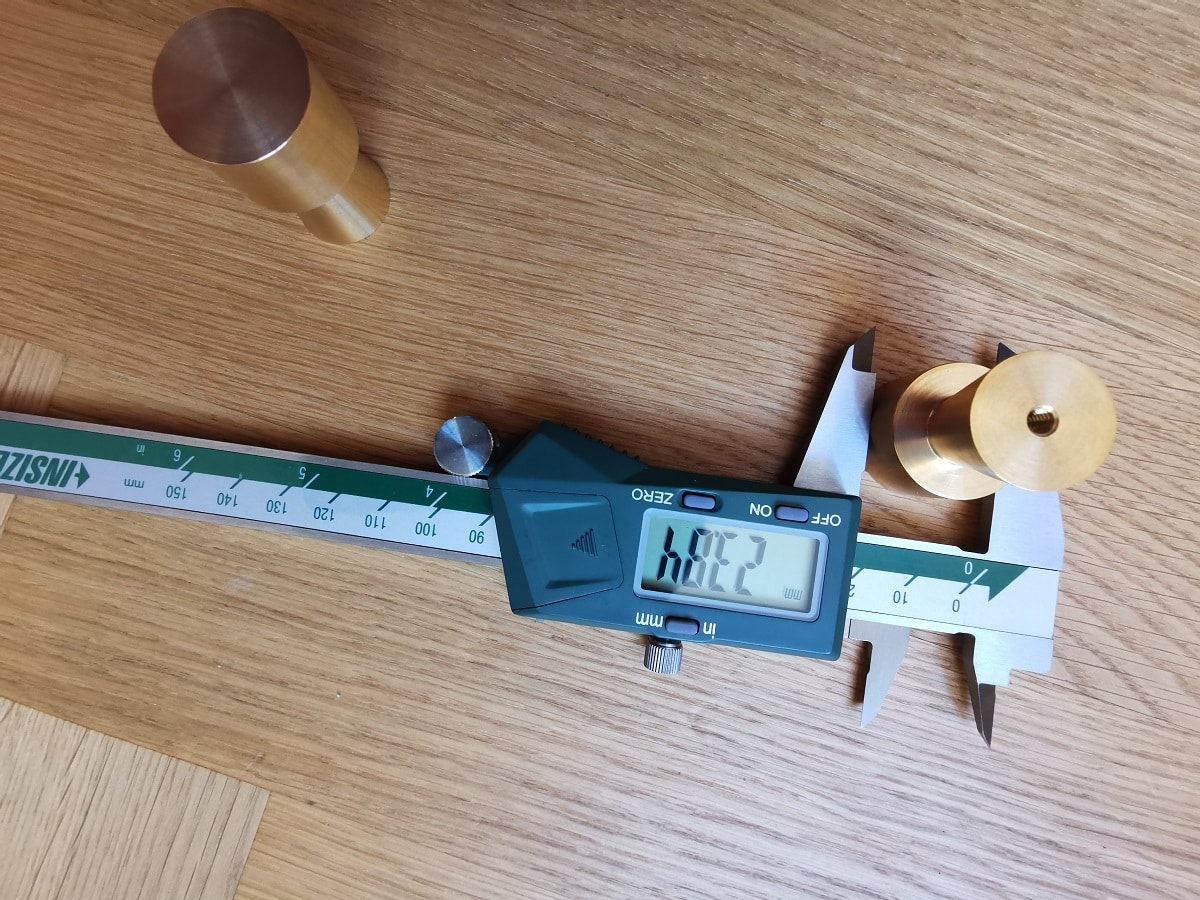
Even the best digital caliper won’t function properly if you don’t take proper care of it.
Digital calipers are a must-have for professionals and hobbyists alike as they come in handy for measuring depth, inner diameter (I.D.), and outer diameter (O.D.). As against dial ones, they are easy to read and display accurate measurements to deliver high-quality results.
Owing to their functionality, digital calipers are a significant investment for every professional and DIY enthusiast. And, if you’re like us, you would want to take every step to maximize the lifespan of this costly instrument.
As not every science, engineering student, or professional knows how to maintain their device, we decided to put together a guide on the same. In this guide, we’ll let out some of the best ways to clean your digital calipers and extend their life, so they’ll last longer.
How To Clean Digital Calipers The Right Way

Easy to use and reliable– digital calipers are one of the best devices in the engineering, medical, manufacturing, and woodworking industries. Compared to a dial caliper, digital ones require frequent cleaning for smooth functioning.
With that said, we’ll walk you through a few tips to clean your measuring instrument so that it works flawlessly.
1. Wipe With A Clean And Soft Cloth
Digital calipers are mostly used at construction sites, carpentry workshops, or other professional settings. Understandably, debris, dirt, grease, oil, and other impurities gather on the measuring faces of this tool.
The easiest way to clean a digital caliper is to wipe it with a soft and clean cloth. Though you can use any cloth, we suggest going for those that leave no lint behind for cleaning the metal part with the jaws closed.
After cleaning it, store it in the case properly to avoid impurities from sticking to the surface.
2. Use Solvent Or Rubbing Alcohol
One mistake most people make is to use soap and water to wipe away impurities from their calipers. Rubbing alcohol and solvents are the two best alternatives for cleaning metallic surfaces of the instrument.
If you wish to prevent rust or corrosion from damaging your device, solvents are the best option. That’s because they leave a thin and light coating that protects the metal from rust by lubricating the surface. And folks who don’t like the residue left behind by solvents can use rubbing alcohol to clean the measuring instrument, but this won’t protect it from rust.
Start with the scale, proceed to the edges and back, before finally cleaning the thumb screw – the part that is used to move the jaws. When cleaning these areas, apply moderate pressure and move the cloth back and forth gently.
Never apply excess pressure while cleaning the instrument unless you need to clean stubborn spots of grease or oil. Another option would be using an ultrasonic cleaner but it may not deliver guaranteed results.
Other Maintenance Tips To Keep Your Digital Caliper In Good Condition
1. Store Your Caliper In A Hard Case
To prevent damaging your caliper, store it in a hard case to protect the LCD screen from shattering by dropping. When stored properly, the jaws are also protected from debris or other sharp objects.
For storing digital calipers, there are certain important things that every user must keep in mind. Like, always store the device by placing the jaws slightly apart from each other to keep them safe.
Furthermore, apply a thin coat of oil on the caliper jaws to ensure they don’t rust or corrode when left unused for a long period. Another thing you can do is place a silica gel pack in the storage box to absorb all the moisture. This ensures your measuring instrument won’t corrode and remain as good as new.
Last but not least, store it at room temperature because calipers get damaged due to excessive heat or cold. And when that happens, it’s likely to affect the accuracy of the measurements.
2. Dropping The Caliper Is A Big No-No!
The caliper is your best friend when working on construction projects or building furniture– so you must use it with care.
Compared to a dial or a vernier caliper, it features an LCD screen that displays the measurements. So, always hold the instrument properly to ensure it doesn’t fall on the floor, or the fragile LCD screen will break.
Avoid putting it in a toolbox either, especially one that contains sharp tools like a screwdriver because there is a high chance that the screen will crack.
3. Change Batteries Regularly
Often, batteries damage calipers by rusting, so you must never leave a battery inside the instrument for a long time. Most calipers on the market use coin-style batteries that are cheaper, and replacing them frequently won’t be an issue.
4. Use The Caliper Only For Measuring
Most people tend to use calipers for pushing, tapping, or prying on the field because other tools aren’t available. But you must use the measuring instrument for measuring purposes and not as and when required in the workplace.
Many people even use the jaws for marking or scratching materials, thereby damaging the caliper.
Testing And Calibrating Digital Calipers
Novices and DIYers wonder how to calibrate digital calipers, or, in simple words, they want to find out whether the caliper delivers accurate results. So, if you’re among those who wish to know the process of calibrating digital calipers, read on to know the right way of doing it.
Step 1: Clean The Calipers
The first thing that you must do is clean the calipers by grabbing a lint-free cloth to wipe away dirt, grease, grime, and other impurities.
Step 2: Unlock The Lever And Close The Caliper
Look for the locking lever that is usually housed at the fixed portion of the caliper and unlock it to start calibrating. After unlocking, you’ll have to use the adjustment knob by screwing it down as far as it goes.
Step 3: Lock The Fixed Pad By Pressing It Against The Moving Pad
Now, push down the mobile portion of the locking fixed pad unless it makes contact with the moving pad section. Subsequently, apply pressure against the moving pad and lock the fixed pad in position by rotating the locking lever.
Step 4: Set Indicator To Zero
As both the pads are secured in their position, you’ll either have to press the reset button or turn the knob till the digital reading digit appears zero.
Step 5: Use Your Digital Caliper To Test Its Calibration
After the readings displayed on the caliper appear zero, it’s time to use your instrument. To begin with, open the jaws of the device and place them over test shims, gauge blocks, or other pieces that need to be measured.
Once it’s in place, rotate the knob till the caliper jaws make contact with the piece; however, do not over-tighten it because that will affect its accuracy. At the same time, you must ensure that the pads are slightly pressed against the piece.
When the results display on the screen, write them on a piece of paper or record them on your smartphone. As gauge blocks are already measured, you must compare the reading of the caliper with the measurements to determine its accuracy.
In case you find the process too overwhelming, ask any professional to calibrate your measuring instrument.

Reading The Measurements On Digital Calipers
People who use vernier or dial calipers often ask – how to read digital calipers in inches. So, if you’re wondering the same, let us tell you that you can switch between inches (in) and millimeters (mm) on a digital caliper.
The SI units are displayed in the upper-right corner of the LCD screen and to read measurements in inches, you’ll have to change the S.I. unit. As the reading is displayed, the number located at the far-left of the decimal indicates the entire inches of the measured piece.
How To Clean Digital Calipers FAQs
You must calibrate digital calipers every year to ensure they deliver accurate measurements. Before calibrating your calipers, make sure you clean them properly to ensure there are no impurities. Also, don’t forget to check if the locking mechanism is loose before taking the measurement.
You must never use denatured alcohol or other corrosive chemicals to clean your digital calipers. Instead, you must use isopropyl alcohol to remove impurities from your calipers. And whenever you complete any project, make sure you store your calipers in a proper case after cleaning them.
The display of digital calipers flash when the battery is low and needs to be replaced, so you’ll have to get a new pair of batteries. All you need to do is remove the cover where the battery is housed and add new batteries by keeping the plus side facing out.
How To Clean Digital Calipers Summing It Up
Most workplaces, if not all, use digital calipers to measure joints, set cutting depths, or check the thickness of the board while planning.
Other than storing it safely in a hard case, there are a lot of things you can do to keep your measuring instrument in good condition. Keep rubbing alcohol, solvents, and a clean and soft cloth in your toolbox, so you can clean the calipers on the spot after taking measurements.
By now, you know the do’s and don’ts of cleaning digital calipers, so are you ready to make it as new as a pin? Simply follow the tips mentioned above, and we are sure you’ll clean it without any difficulty.


